Roof Rack Hack

The Apex Roof Rack has served our adventures well, stowing cargo and being a platform upon which to mount two ARB awnings.

But the drag knocks a mile-per-gallon off the Monty's mileage. I drive 700 miles a week traversing the great State of Utah for my commute and need every MPG I can get.
And I've always had an issue with how high the rack rides on the stock roof rails (though I should note stability was never an issue) and with how tall the rack itself is. So on my last commute back to the Wasatch I came up with a plan. It's that damn tinker gene.
I started by reducing the height of the Apex Rack, knocking it down by and inch and a quarter.

I cut that much off each vertical upright keeping the necessary mounting dimensions I needs for both ARB awnings. I used a brass pipe cutter that worked as precisely as I needed.

Once cut, I deburred each upright, reassembled them with the stock Apex hardware and installed.

This gave me a platform to work with in mocking up a gutter mount versus using the stock roof rack rails.
As with anyone who's ever tried to remove the stock rails, I had two screws that wouldn't budge - passenger side front and driver side rear. I found that a quick and strong twist on the initial turn of each screw was enough to break it free of its weathered mount, but that was not the case with these two. The passenger side just rotated in the thread bucket so I leveraged a large flat screwdriver from the sunroof side under the rack foot. This gave me enough tension to keep the bucket from rotating while I broke the screw free. My efforts did pop the bucket up about an eighth of an inch.
The rear one wouldn't budge so I drilled out the top of the screw with a 5/8ths bit until I reached the rack foot material and pulled the assembly right off. I ground down the rest of the screw head.
I picked up a pack of four Surco 5 1/2 GM-100 roof rack gutter mount adapters. The 90 degree upright has two lengths, assembled in the pic below at it lowest height, creating a longer length on its horizontal throw.

With the stock roof rack still on, I placed the Apex rack on the rails and did a test fit with the gutter clamps. I measured and drilled a third hole on the top of each stanchion (above) to accommodate a mounting point on the Apex rack using its vertical hardware.

I mounted the gutter clamps to the Apex rack at each of the uprights and added a stabilizing mount with stainless washers and hardware. I'm not a fabricator and this was the best I could do with off-the-shelf pieces.
I did a test fit and it mounted perfectly.

I was a little concerned about load stability and rack rigidity, but once it was up there the center of the rack rests on the parallel rubber strips from the stock rack and when I tested it with my own body weight (MUCH more than what I'd ever stow or attach to the rack), I was satisfied. Solid, no give, no sag.
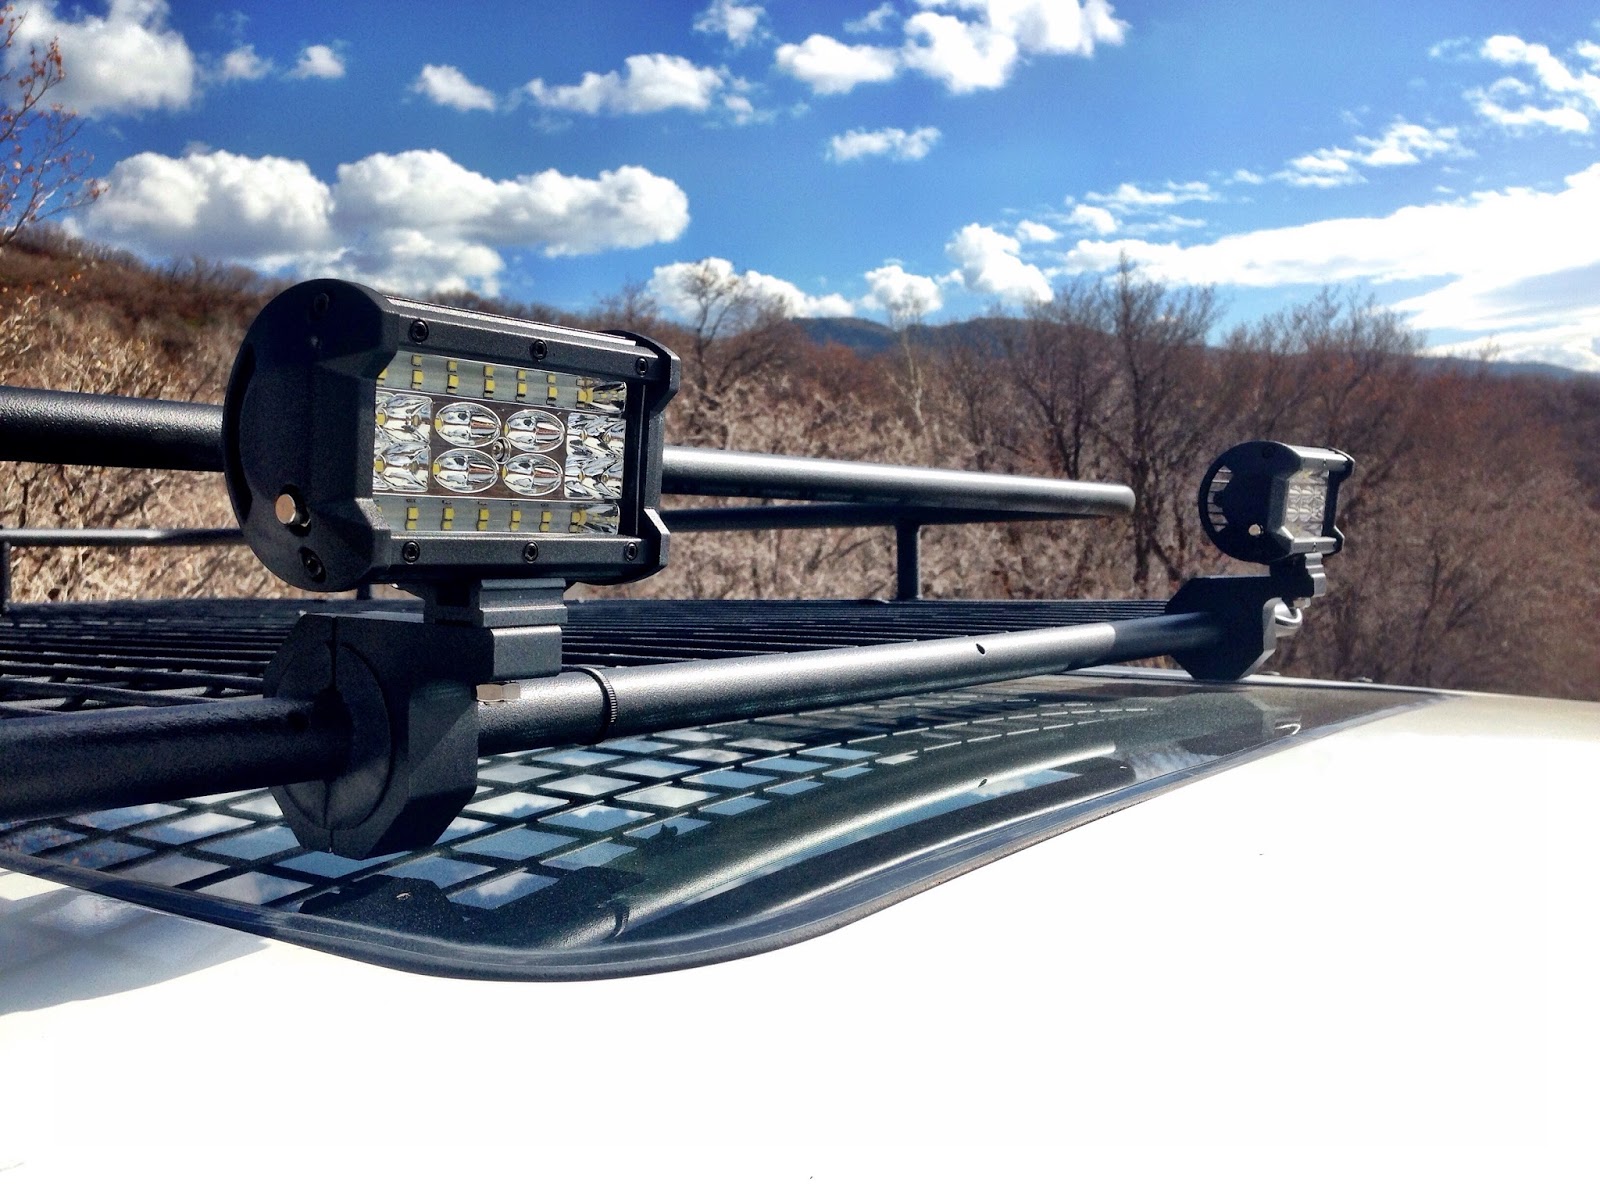
I removed the rack and shot it and all the hardware with three coats of bed liner and then added two 5-inch, flood/spot combo LED Osram lamps with a Lamphus Cruiser mounting kit.

With all the mods complete, I mounted the rack.

The gutter mounts come with locking nut hardware which works great on assembling the mounts to the stanchions, but not-so-great in combining the gutter clamp to the mount. Since there's very little clearance behind the clamp on the forward mount, it's impossible to get a nut behind it and thread the bolt through to secure it, so I reversed the bolts, feeding each one through at all four points and used standard nuts with lock washers to secure the clamp. The locking nuts would just spin the bolt when I tried to torque them down. The standard nuts brought the bolt to clamp forward and seat behind the stanchion allowing me to torque the lock washers and secure the mount.
I drove it up Bountiful Mountain for a shake test and pics. I haven't wired the lamps yet since I'm installing a Blue Sea Blade fuse block like in other builds to handle all my accessory loads.
No rattles, but I'm a little concerned with the clearance of the Lamphus mounts above the sunroof. I'll fabricate a foot I can squeeze in between the rack and the roof on either side to the sun roof, since I'll be mounting my Hi-Lift jack just behind the lamps. Overall, I'm pretty happy with the outcome. We'll see what the mileage does on next week's commute.


Comments
Post a Comment